How your Study Tech Assessor, Mentor or Trainer, Technical Support or others may contact you, Google meets, Zoom, Teams and Quick Assist. Alternatives for Mac users
How will my Assessor, Trainer or mentor contact me?
In general, a Study Tech Employee will use Microsoft Teams, Google Meets, Zoom, Zoho Meetings, Zoho Cliq, Zoho Assist, Zoho Connect or similar for an online meeting.
Usually, an email invite before their meeting, or potentially a phone call can then occur. Sessions may start a little later than your time slot.
This will be the Staff members or Students preferred app usually, but in terms of Tech Support, App X not working will always be investigated first with does quick assist work, and if so the preference of another app will not then be investigated. As the basic functionality, as covered by quick assist works. therefore any issue is then at fault with eth app/software, and zoom, teams etc need to be contacted.
If all else fails, or you are in contact with Technical Support we recommend using Quick Assist (on a Windows machine).
Quick Assist, a built-in Windows tool, enables remote assistance where one person helps another with their computer.
Start Remote Support
If a Study Tech Trainer, Assessor, Staff Member, Agent or Technician has asked you to start a remote support session, click the button below. If we have not please do not click as an appointment must be booked first. You will need a Microsoft Account, preferably personal but University or Workplace may work to access remote support
Typically, we will only provide remote session appointments to customer who are currently registered and still covered by their maintenance and support warranty.
While not designed for traditional voice chat, Quick Assist facilitates communication through an integrated chat feature and can be used alongside a separate voice call (phone, other app)
The helper can share their screen and even take control with the user's permission, and the chat function allows for quick text-based communication.
Here's how to use Quick Assist for remote support with voice communication:
Establish a Voice Connection:
Before starting, set up a separate voice call (phone, VoIP app) with the person you'll be assisting. This allows for real-time communication while using Quick Assist.
Open Quick Assist:
- Both the helper and the person needing assistance should launch Quick Assist.In Windows 10, you can find it under Windows Accessories from the Start Menu.
- In Windows 11, it's under All Apps from the Start Menu.
- Alternatively, you can search for "Quick Assist" in the Windows search bar or use the shortcut: Ctrl + Windows key + Q..
Helper Shares Security Code:
The helper (person providing assistance) selects "Help someone".
The helper (person providing assistance) selects "Help someone".
- Quick Assist will generate a security code.
- Share this code with the person needing help, either through the separate voice call, email, what's app or another messaging method.
User Connects and Shares Screen:
The person needing help enters the security code in the "Get help" section of Quick Assist and selects "Submit".
- They will then be prompted to share their screen, which they should allow.
Using the Chat Feature:
Once the screen sharing is established, the helper can use the chat feature within Quick Assist to communicate with the user.
- The chat window appears as an icon on the top bar of the Quick Assist interface.
Optional Control and Ending the Session:
The helper can request control of the user's screen, which the user can either allow or deny.
- Either the helper or the user can end the session by selecting "Leave" or "End session".
This video explains how to use the chat and other tools within Quick Assist:
Mac Alternatives.
1. Zoho Assist may work straight away; if not, follow the instructions below/in the Zoom session for allowing remote connections.
2. Google remote desktop: This will end around any remote access/system issues, but it is very complicated to install/is for only advanced customers.
3. Quick Assist.... Yes, this is actually doable; it's on Beta/MS support only at the moment; there is a download that requires an 8-digit access code, which only MS can generate currently.
4. Zoom, see below.
5. The following steps help you remotely control a Mac via Zoom, it is the easiest and most likely to work:
- Step 1. Ask the student to download and install the Zoom App on their Mac, if they have not already.
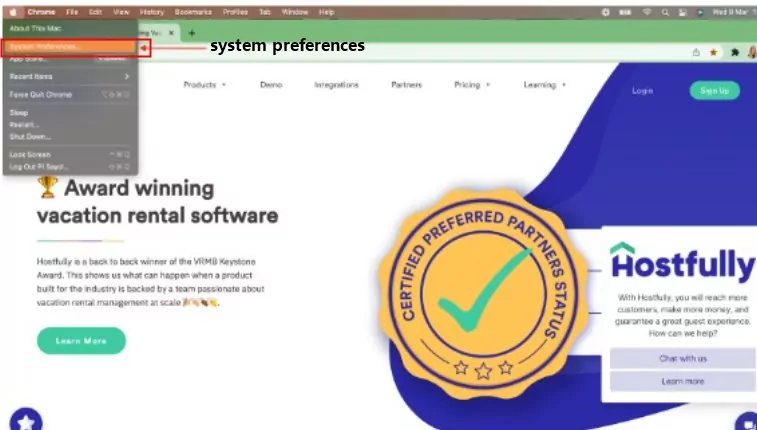
- Step 2. Have them click the Apple logo on the top right corner of their screen and select "System Preferences."
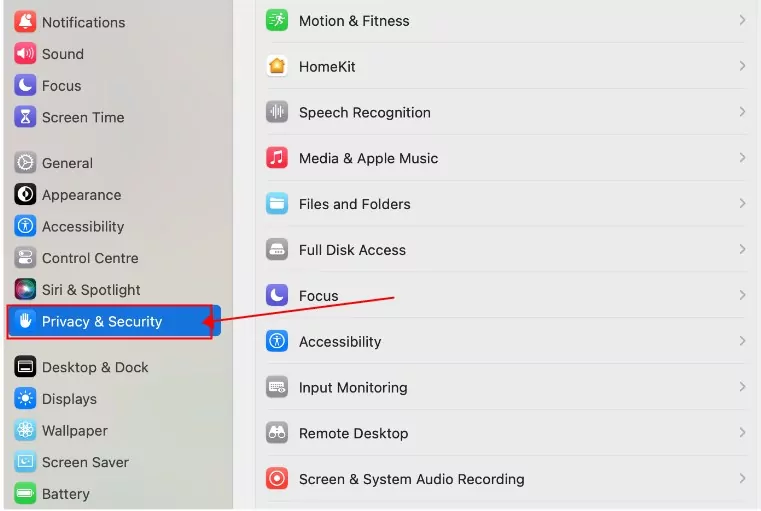
- Step 3.Select "Security and Privacy."
- Step 4. Have the Student enter their administrator password and username, then click "Unlock."
- Step 5.Go to the "Privacy" tab and then tap "Accessibility."
- Step 6.Tick the box next to Zoom (or your chosen app) to allow remote control, and you will be done!
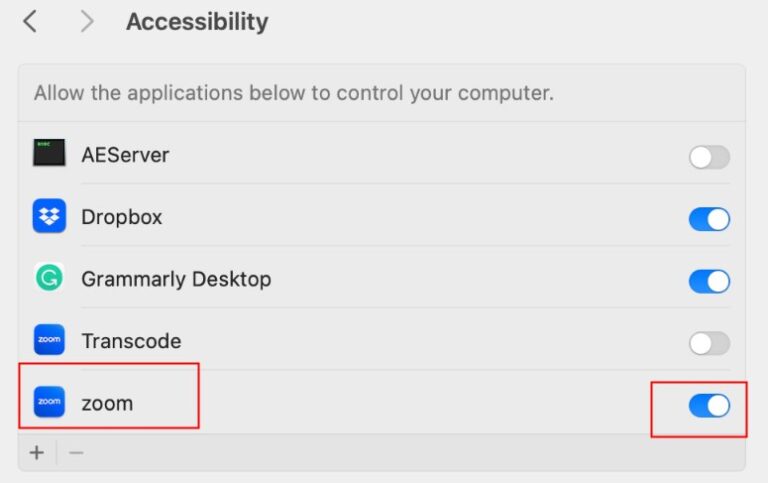
If you then initiate a Zoom call with the student you may be able to then remote in.
Related Articles
Accessing your AT/ATT Training/Mentor/Trainer contact/help. Information on training.
How do I book training or mentoring? To book a session, You can sign in here to the Student Tutor app. If you have any issues, you can contact the training and mentoring team directly. How will my trainer or mentor contact me or start my sessions? ...What type of help can I get from Study Tech Technical Support? How should I get in contact.
The Study Tech technical support team is here to assist you with a range of common IT issues via email, phone, and remote sessions (e.g., using Microsoft Quick Assist). Below is a summary of what we can help with—and what falls outside our scope. ✅ ...Using Zoom and alternatives for it, Quick Assist, Teams, Zoho Assist etc
Easy Connection for remote support or Training. Use Quick Assist as a first step, it is the least likely to fail. Start Remote Support If a Study Tech Trainer, Assessor, Staff Member, Agent or Technician has asked you to start a remote support ...How to request more training, non medical help mentor or assistive Technology training hours
If you just want to know a little more about ATT, Training or mentoring, take a look here. If you're trying to request more NMH hours, here’s how it works: ? Who Can Request More NMH Hours? ✅ A Student If your needs have changed (e.g., increased ...Why Study Tech, or Tech Support may not be able or best suited to contact software manufacturers on your behalf directly.
Why we can’t always contact software manufacturers on your behalf, or may not be the best people to do so. Your software is supplied to you directly as part of your DSA support. Because of this, the manufacturer considers you — not Study Tech — to be ...